Monday, November 4, 2013

Hippodoptera under glass


A wonderfully odd art piece came into the shop recently. Two glass domes arrived, each covering a delicate and very curious arrangement. 


Monday, October 7, 2013

The locomotive coffee engine enigma

About two weeks ago, I posted photos and a description of a puzzling device on Facebook, and offered anyone the chance to guess how it worked. Here's the original problem (edited for clarity), with the explanation after the jump.

----

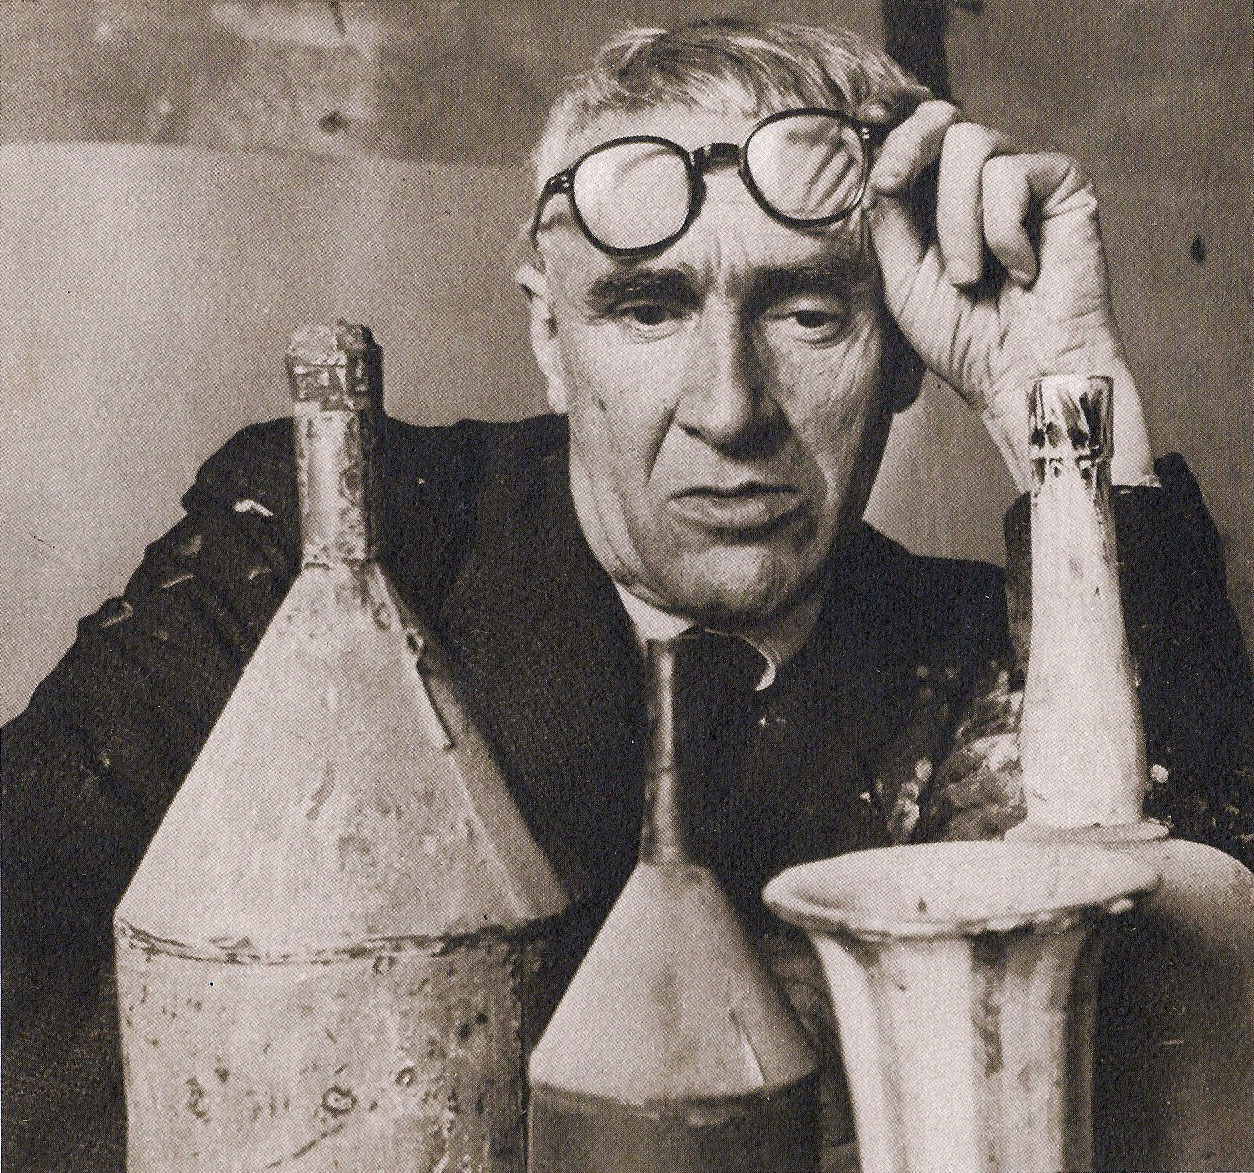
This beautiful coffee engine (circa 1850) came into the shop today for repairs. The owner didn't know how it worked or if it ever had, so I had the pleasure of tinkering around with it to determine the mechanism. Anyone want to see if they can guess how it works? 


Some important details: There are two chambers that liquid can go in. The front chamber (Left, towards tap) is completely closed off except for the chimney, and does not seal. It does not directly connect to the other chamber, nor the tap. The rear chamber has (left to right) a tight connection to the U- shaped tube spout, a stoppered funnel to pour water into, and a whistle with a valve that closes. 

The u- shaped tube spout is open all the way through, and ends with a perforated strainer. The strainer does not open like a tea ball. 

The engine ensemble (both front and rear compartments) balance on the carriage in  such a way that it may rock back and forth slightly, though the rear is much heavier. Below the carriage is a spirit lamp with a hinged lid, and when the engine rocks forward it pops a small lever to flip the lid closed. 

There is a small box on level with the engine, probably for holding dry tea/coffee grounds. It is not involved in the mechanism. 

Done guessing? Follow the jump! 

Tuesday, June 18, 2013

The Adventure of the Lost Wax casting

Some of you have expressed curiosity about what I do at the shop, so I'm going to do my best to show you all a few snippets of the projects I work on.

Today we have an example of the lost wax casting process and all the lovely details therein. This is how I clone items without using my science degree!
Now with slightly out-of-focus pictures, and a little explanation of how I got into this whole business.

One ring to rule them all... wait, nuts.
Sauron you tricky bastard!

The tale continues beyond the cut

Thursday, June 13, 2013

Final prints: Beardsley-inspired design and a bit of symmetry

The last of the prints!

Here we are, several weeks post-graduation. I had a fantastic time with this printmaking class, and it will stand out as the only art class I had the time to take while I was at Reed. Au revoir, Portland and Reed college; it was lovely to know you.

I have now moved to DC, and I'm back in the metalshop! It's a bit like being a kid in the candy store, except with a slightly higher chance of losing a finger. I have loads of projects I'd like to share with you, dear Internet, but let me close up the printmaking business first.


More behind the cut


Wednesday, April 10, 2013

Three color print


Adventures in color printing! After working with one tone of black ink for most of the semester, I was quite excited to work in color. I used three separate aquatint etched plates, each designed to deposit varying amounts of red, yellow, or blue ink to create this simple poppy design. 


Wednesday, February 27, 2013

Multi-tonal aquatint, and a riddle

 Remember the Aquatint self-portrait? Here I use a similar method to create a multi-tonal zinc plate, with black, white, and three shades of grey. For funsies, I included a riddle to go with the print- see if you can work it out! 


Thursday, February 7, 2013

Conclusion to Adventures with Giorgio Morandi


Last week I shared a quick study on the printmaker/painter Giorgio Morandi. Since then, it's been something of a crosshatching party, culminating in yet another acid etched plate. This time we used a combination of drypoint and acid etching, using hard ground as a resist.


 (The only time I have to draw is when I'm hanging out in the lab, waiting for assays to run. Hence, the subject matter)

Methodology after the cut


Sunday, February 3, 2013

Giorgio Morandi study- an adventure in crosshatching across disciplines

Giorgio Morandi  was an early 20th century printmaker, and I had never heard of him before last Thursday. However, we were assigned to check out some of his drypoint still life etchings, copy one, and follow up with a still life of our own.


This post contains something of a personal adventure for me, as I (eh heh he) cross-hatch some preconceptions, and learn a bit about the art of laboratory work.


Saturday, February 2, 2013

Drypoint commemorative stamp

Our second assignment was to design a commemorative stamp, 2"x3", and scratch it onto a small zinc plate using the drypoint technique. I pondered designs for Sugar Pie Desanto and Etta James, Mia Zapata, even Fred Astair. In the end though, I ended up with a sketchbook page full of Tank Girl fanart... Thus, I give you a commemorative stamp of tank girl (though I don't think the USPS will accept it...).


Wherein I complain about engraving Additional comments behind the jump

Aquatint self-portrait print

...So I failed in my original plan to create more artwork on my own time. However, perhaps I'm not beyond hope- I started taking an Intaglio (in-TAL-lee-oh) printmaking class, and now I can justify spending time on art. Pardon me while I click my heels in joy!

Enough excuses. Here's a two-tone aquatint self-portrait pulled off an acid-etched zinc plate. Methods, progress shots, and rambling behind the jump,  in case you wanna learn about how this was made.


4"x 5"