Some of you have expressed curiosity about what I do at the shop, so I'm going to do my best to show you all a few snippets of the projects I work on.
Today we have an example of the lost wax casting process and all the lovely details therein. This is how I clone items without using my science degree!
Now with slightly out-of-focus pictures, and a little explanation of how I got into this whole business.
The tale continues beyond the cut
Today we have an example of the lost wax casting process and all the lovely details therein. This is how I clone items without using my science degree!
Now with slightly out-of-focus pictures, and a little explanation of how I got into this whole business.
 |
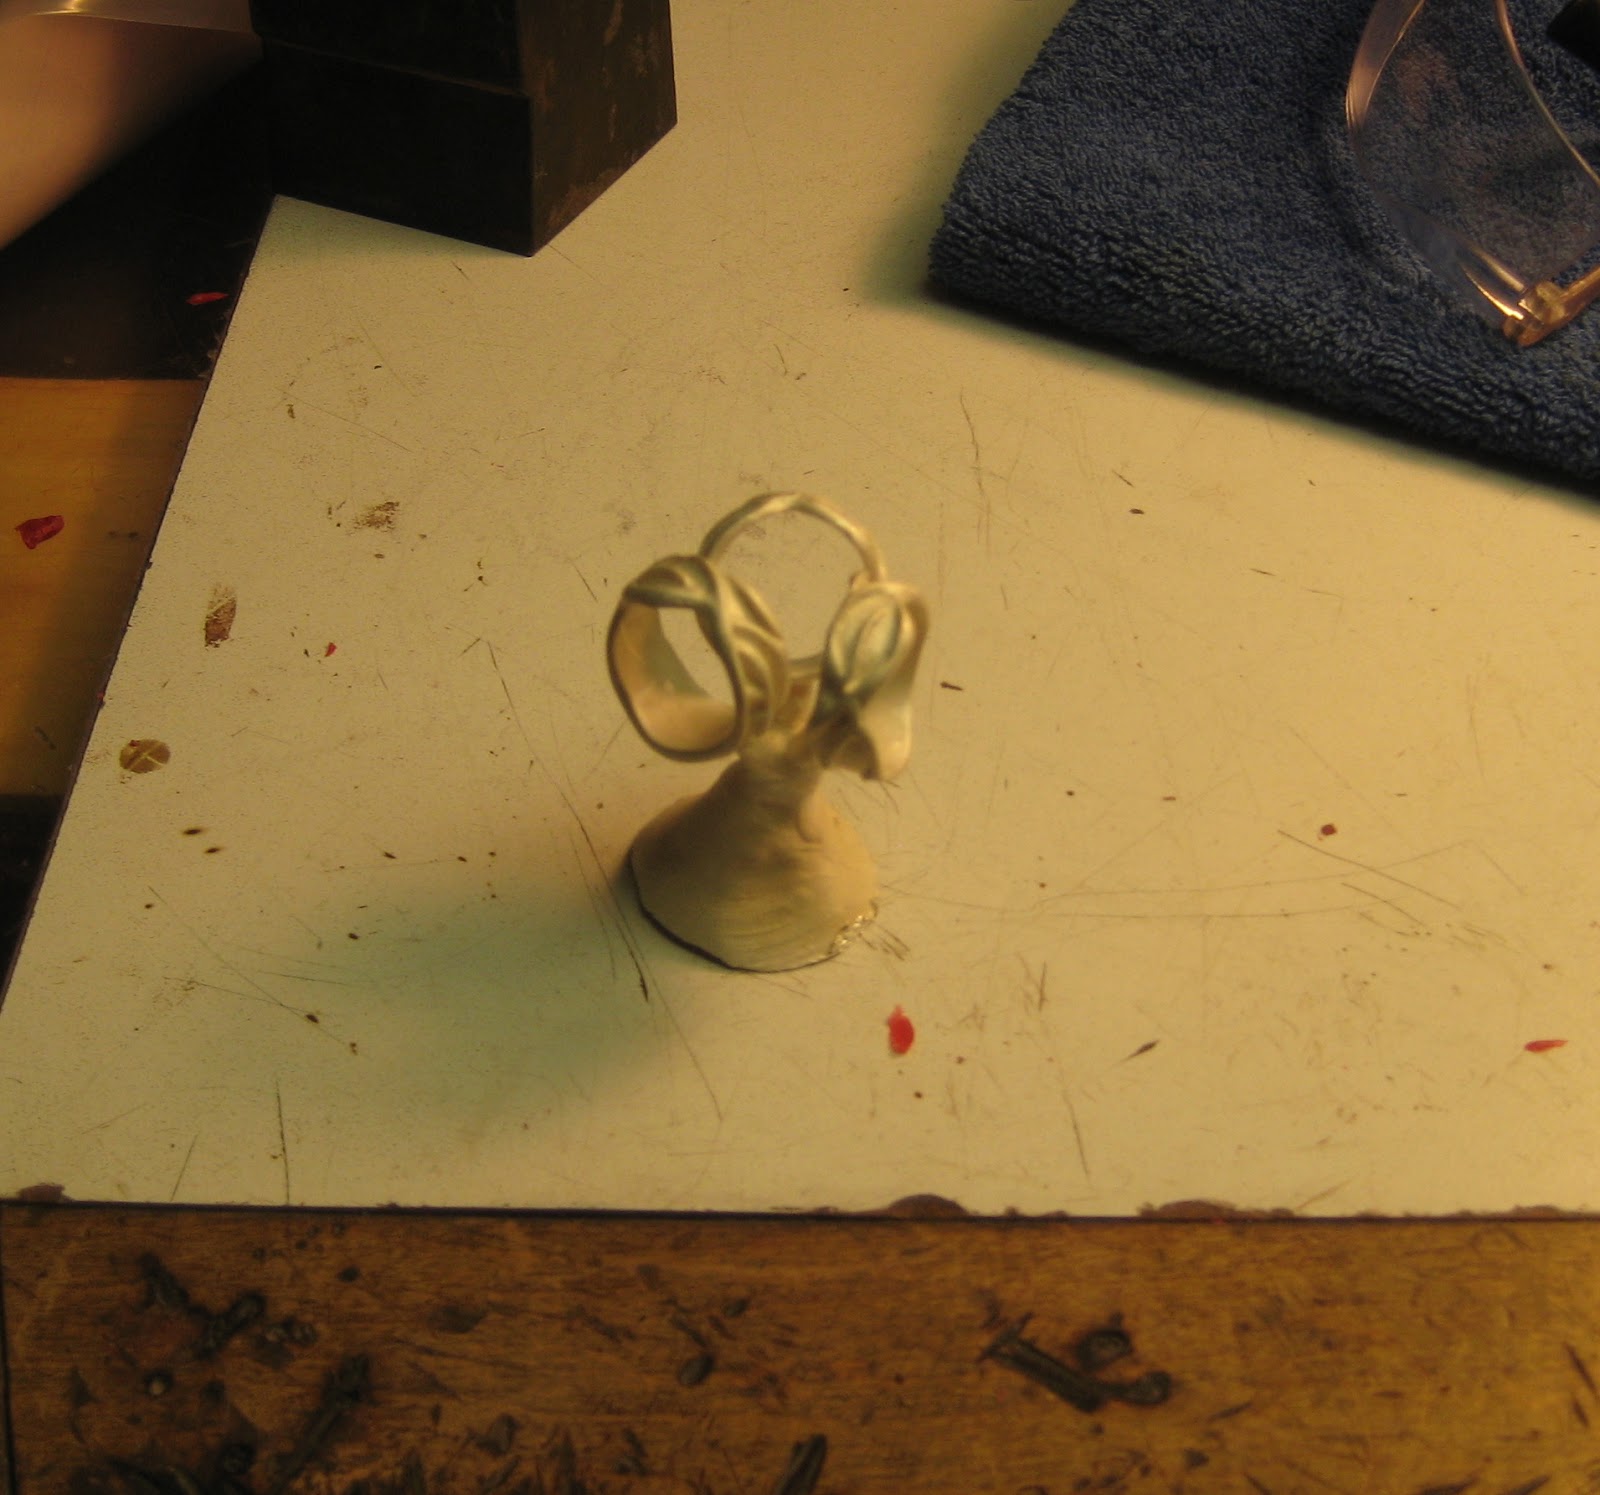
| One ring to rule them all... wait, nuts. Sauron you tricky bastard! |
The tale continues beyond the cut
...
First, a bit of background. I grew up toddling around the Torpedo Factory Art Center in old town Alexandrea as the child of Susan Greenleaf, who happens to be both a fantastic ceramic artist and an amazing mom. Lucky me, I got to check out all the other artists and the cool stuff they made. Pretty much right off the bat, I went straight for the metal workers. Pat Monk, Dick Martin, and Marcos Teixiera were among the artists who tolerated the visitations of a nosy kid, and for them I am forever grateful. By the time I was 12, I had worked out something of an apprenticeship with Dick and Marcos- that is to say, I would do a bit of clean up work or maybe go fetch them coffee, and they would show me some of the basics of their work. I got myself into a couple internships over the years and continued to futz around in my basement, making little things with some degree of success.
When I was 16 and looking for a way out of the hellhole that is an un-airconditioned house during the DC summer, I was recommended to check out Creative Metalworks, owned and run by Michael Schwartz. After a week-long trial run where I learned how to scrub an entire workshop down, Michael decided to hire me on. When I asked him several years later what in the world had possessed him to hire a 16 year old, he shrugged and said "you seemed excited about it".
I worked there during the summers and occasionally while in school from 2007 to 2011, when I took a summer off to work an internship at NIH. Facing a swiftly impending graduation and no specific plans besides "be done with my thesis for the love of god already", I decided to ask if I could come back for the summer + fall of 2013. Lucky me! I'm now back on the east coast working a job I love, with the time and energy to travel, dance, make things, read, explore, learn, and generally have a damn good time.
So! With all these great projects going on, why not share them? Without further ado, here's the Adventure of the Lost Wax casting:
...
The project: A ring needs to be replicated in sterling silver, and one 14k gold pendant needs to be replicated and recast in sterling five times.
This type is project, while not particularly exciting, is a staple of any jewelers shop. Clients frequently want a copy of a ring or other item, or wish for multiple copies for whatever reason. We go about making these copies using a technique called lost wax casting, wherein any item make of wax can be remade in metal, glass, plastic, or simply a different type of wax. Since I'm starting with a solid metal object, I must first make a wax copy of it before I can cast the final copies.
The lost wax process is old, originating over 5000 years ago at least. Here's how it works: We start off with a solid object of some kind- in this case, a ring. I begin by making a vulcanized rubber mold of the original. Step one- you put your junk in a box: Using layers of a special soft rubber, I enclose the original like a multi-level sandwich, then cook the soft rubber under pressure at 350 degrees F in a rectangular metal box mold for about an hour. This vulcanizes the rubber, making it firm and immalleable. Once cooked and cooled, I pop the block of rubber out of its case (you let her open the box), and carefully cut it open and remove the original, yielding two pieces that fit perfectly together and create a negative impression of the original. Repeat for the other item.
 |
| Cut and opened rubber mold on the left, and the two original items with wax copies below at center and right. |
Once I've made the mold, I can them proceed to shoot pressurized molten wax into the negative space, creating a nearly perfect wax replica of the original. Using this cloning technique, I make three more rings and seven pendant replicas in wax. Why so many? Sometimes things just get messed up in the process, and it's better to have extra than to have to start over.
So what do we do with a bunch of wax copies? This is where the "lost wax" part of the casting process becomes relevant. I use additional wax to create a tree with the wax copies, as seen below. Now they are all connected to a single large root, called a button. I can now stick this tree in a cylindrical tube called a casting flask, and then pour in a plaster-like mixture called investment. Like with the rubber mold, this allows me to switch the positive space for negative, creating a hard mold of all ten pieces once the plaster sets. And then I burn the hell out of it. We stick the plaster mold upside down in a hot oven, and cook the wax right out of it.
So what do we do with a bunch of wax copies? This is where the "lost wax" part of the casting process becomes relevant. I use additional wax to create a tree with the wax copies, as seen below. Now they are all connected to a single large root, called a button. I can now stick this tree in a cylindrical tube called a casting flask, and then pour in a plaster-like mixture called investment. Like with the rubber mold, this allows me to switch the positive space for negative, creating a hard mold of all ten pieces once the plaster sets. And then I burn the hell out of it. We stick the plaster mold upside down in a hot oven, and cook the wax right out of it.
 |
| Two "trees" connecting all the wax copies of each item. The three ring copies are already in a casting flask on the left, and the seven pendants are exposed on the right. |
 |
| After mixing with water, the plaster must be boiled under vacuum to remove air bubbles. I wish I had video of this, because it is both cool and super noisy. |
 |
| The two filled flasks bubbling away in the vacuum chamber, as a final step to discourage bubbles from forming. |
Now comes the fun part! We pop the hot plaster mold into a centrifugal casting machine (read: a steel barrel with some spinning things inside), melt a crapton of silver into a crucible that will slide right up to the mouth of the flask, and give it a whirl. The molten metal shoots right into the flask, filling up all that negative space.
Here's an older video of wax casting, taken at the shop. The bottom video shows centrifugal casting, but the other videos are neat too.
** I want to hear no comments about how this is actually centripetal force- the process is called "centrifugal casting" and I have no desire to argue with every person who calls it that.
Once the metal has cooled to solidity, we take the still hot flask and dump it in water. The investment falls away, and we have a rather groady looking piece of metal to clean up. I only have pictures of the rings at the moment, so we can ignore the pendant for now. (Amusingly, this pendent is inscribed on the back with the words "For Anne, from Joe". I wonder how many Annes there are, hmm? )
After scrubbing, soaking in hot sulfuric acid, and steam cleaning, I then carefully saw off each item off of its tree and proceed with the arduous finishing process. I'll go over finishing techniques another day, for those fascinated with the wild world of sanding disks and buffing compounds.
The final product:
And that is one usage of the lost wax casting process. There are many, many more methods by which to cast objects, ranging from the most primitive to rather high-tech. Some of them can be done in your own backyard! I'm feeling around for interest here: who would want an instructional post on how to cast a simple item using sand or cuttlefish bone? Let me know!
Next up is the restoration of several fancy-pants chalices, where I will show you exactly how you can "tap that".
** I want to hear no comments about how this is actually centripetal force- the process is called "centrifugal casting" and I have no desire to argue with every person who calls it that.
Once the metal has cooled to solidity, we take the still hot flask and dump it in water. The investment falls away, and we have a rather groady looking piece of metal to clean up. I only have pictures of the rings at the moment, so we can ignore the pendant for now. (Amusingly, this pendent is inscribed on the back with the words "For Anne, from Joe". I wonder how many Annes there are, hmm? )
 |
| Tree of three rings, fresh out of the clean-up process |
The final product:
 |
| One ring was chosen to finish completely for the client, and the other two were just polished up to be kept around. The middle ring (which will go to the client) has been treated with liver of sulfur to oxidize the surface and bring out the details. |
Next up is the restoration of several fancy-pants chalices, where I will show you exactly how you can "tap that".
I have nothing concrete to say other than, "Hey, I read all of that and found it interesting and am grateful you wrote it up and explained it so well. Thanks!"
ReplyDelete